
Moodle Installation Procedure
Visit the URL "HTTPS://YOURDOMAIN.COM/moodle" & the follow the bellow instructions.
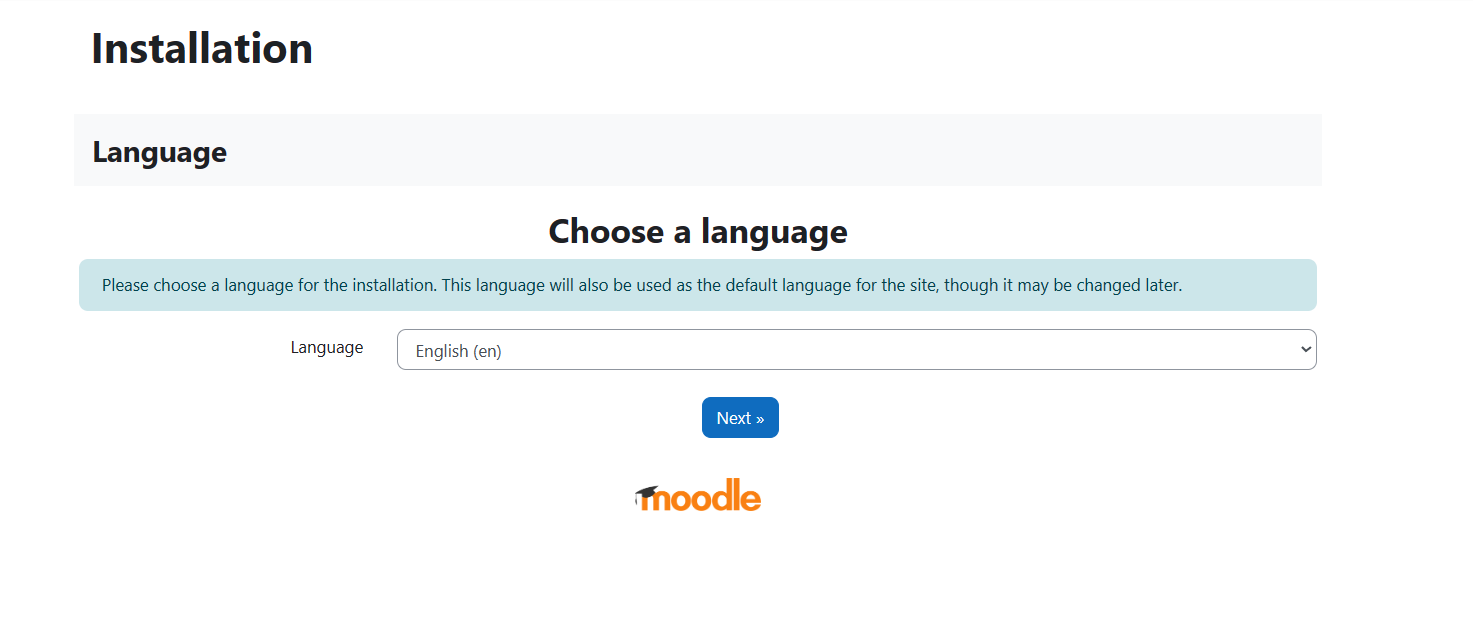
Step 1
On the screen select your favorite language from the drop down and then click 'Next'
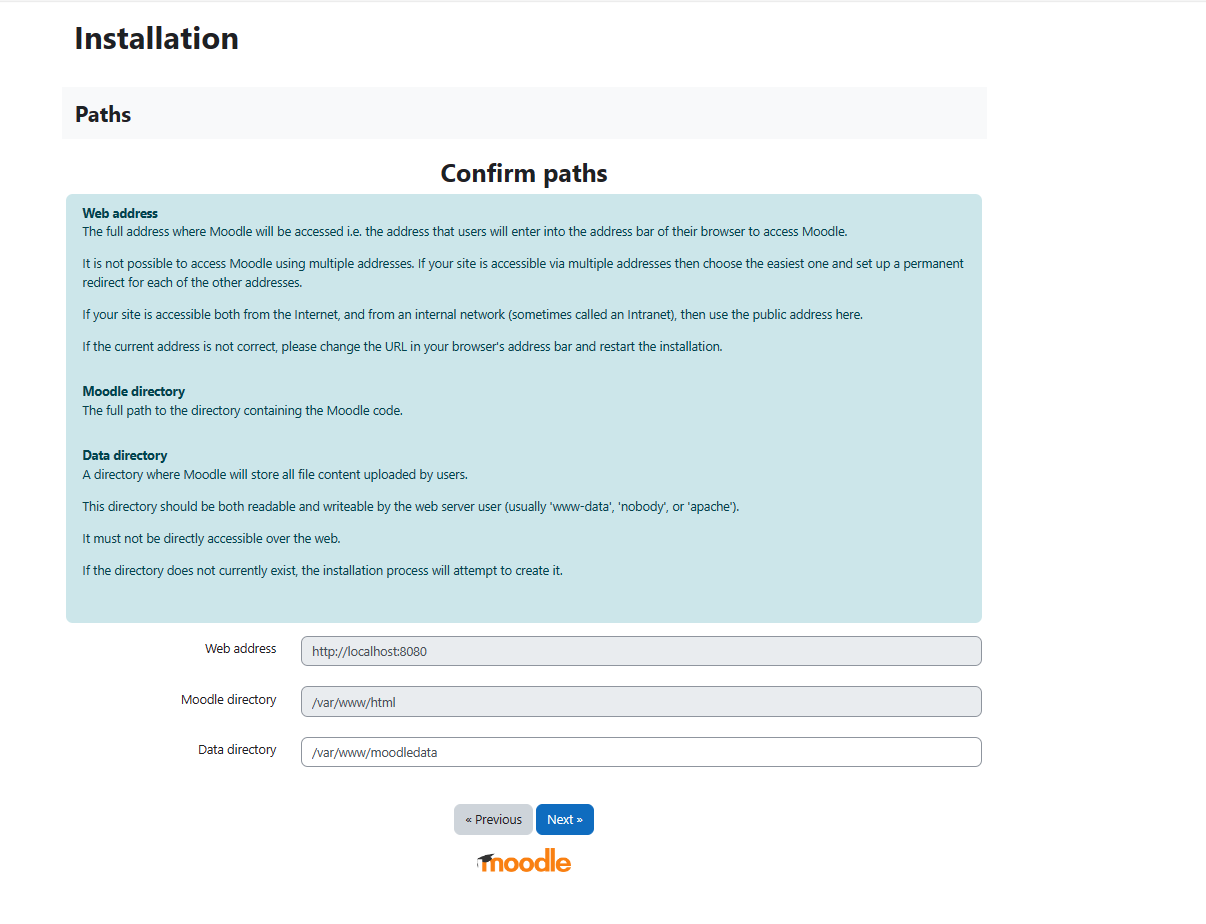
Step 2
On the next screen select the defaults and then click next.
Note: Please do not make any changes on this screen as any changes to this screen may bring unexpected behavior to the application.
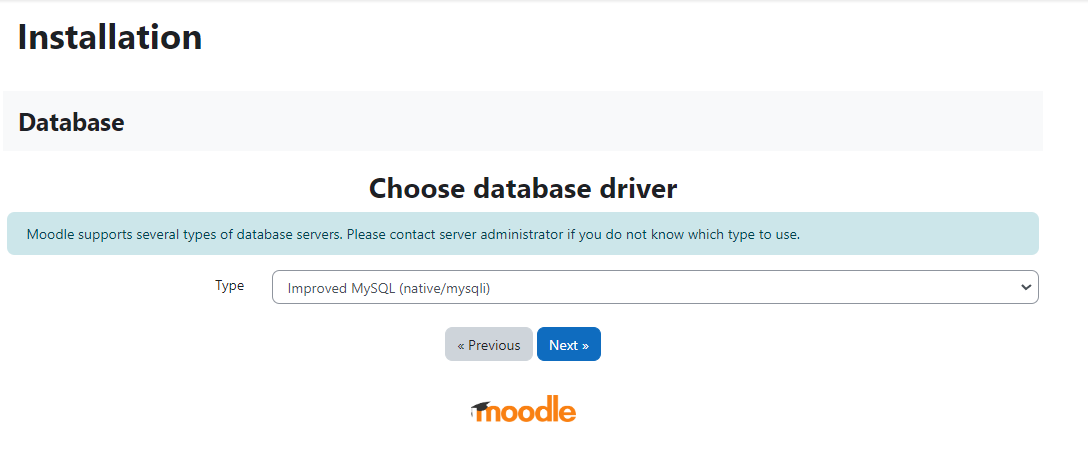
Step 3
On the next screen of choosing the Database driver, please choose "Mysql"only from the dropdown menu and then click "Next"
After choosing the "Mysql" from the drop down , your screen should look like the left side screen. Now click on the "Next" screen.
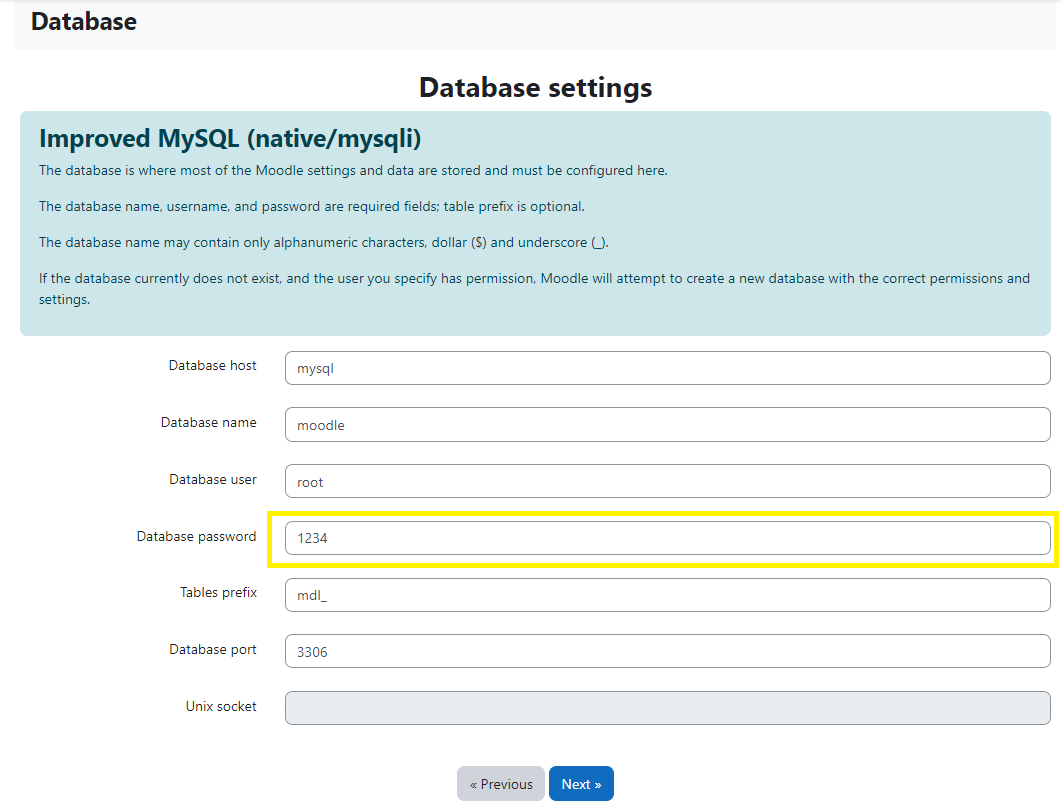
Step 4
On the "Database settings" page enter the details of the Database credentials which you got from the step 7.
Please make sure that the Form fields has the following values:
Database host : mysql
Database name : moodle
Database user : root
Database password : <mysql password from step 7>
Datanase Port : 3306
Note: Please do not enter or modify anything in below mentioned fields as it may bring unexpected behaviour to the application:
Table prefix
UNIX socket
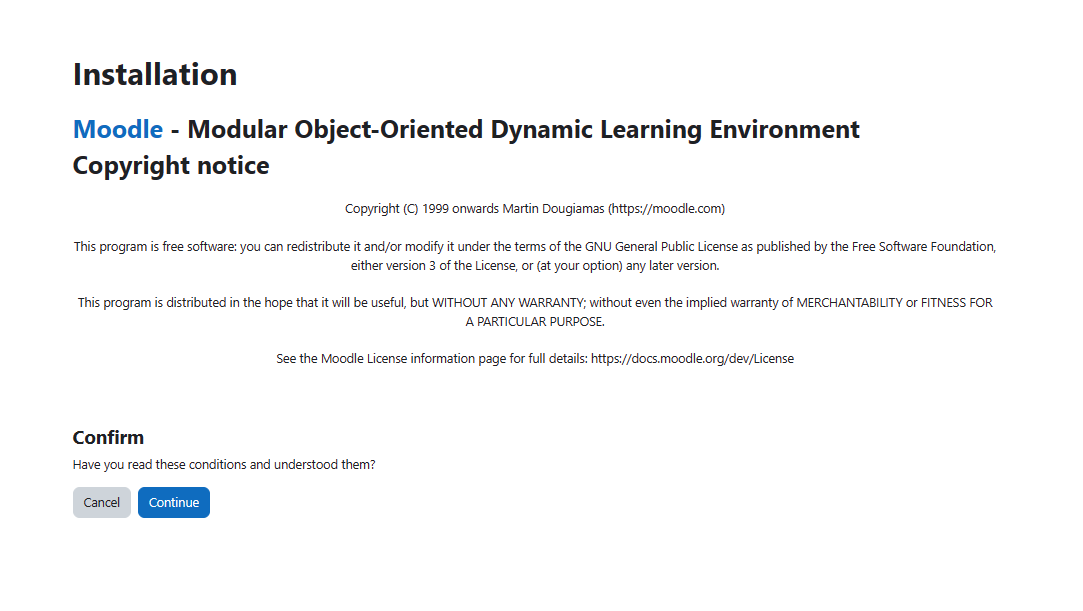
Step 5
On the next screen, please read carefully the Copyright notice by the Moodle and accept it by clicking the button "Continue".
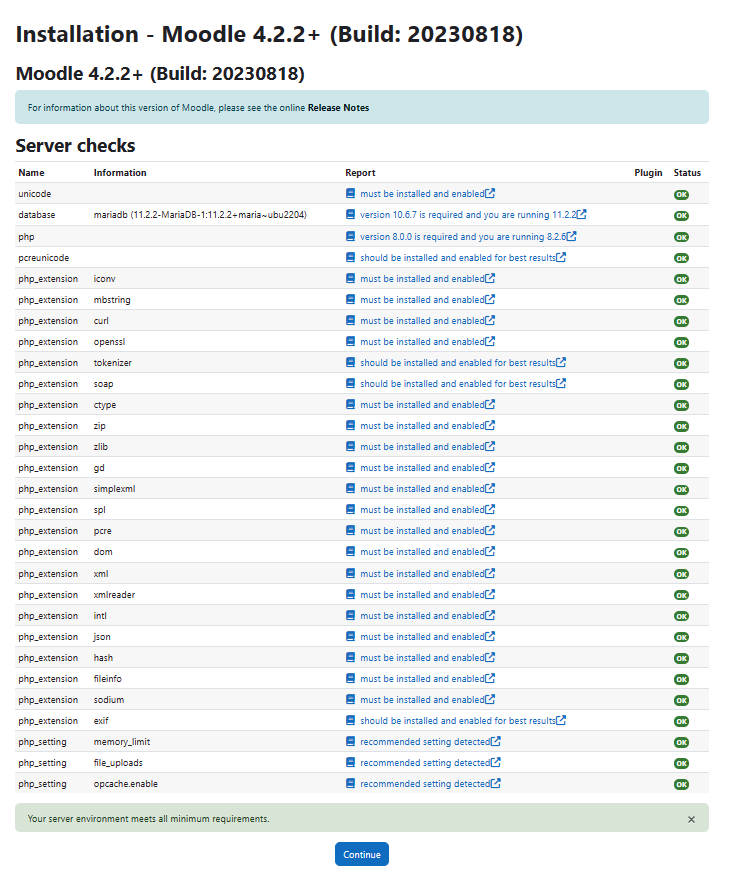
Step 6
On the next screen, please make sure that if all server checks are "ok" and green in color. Then click on button "Continue".
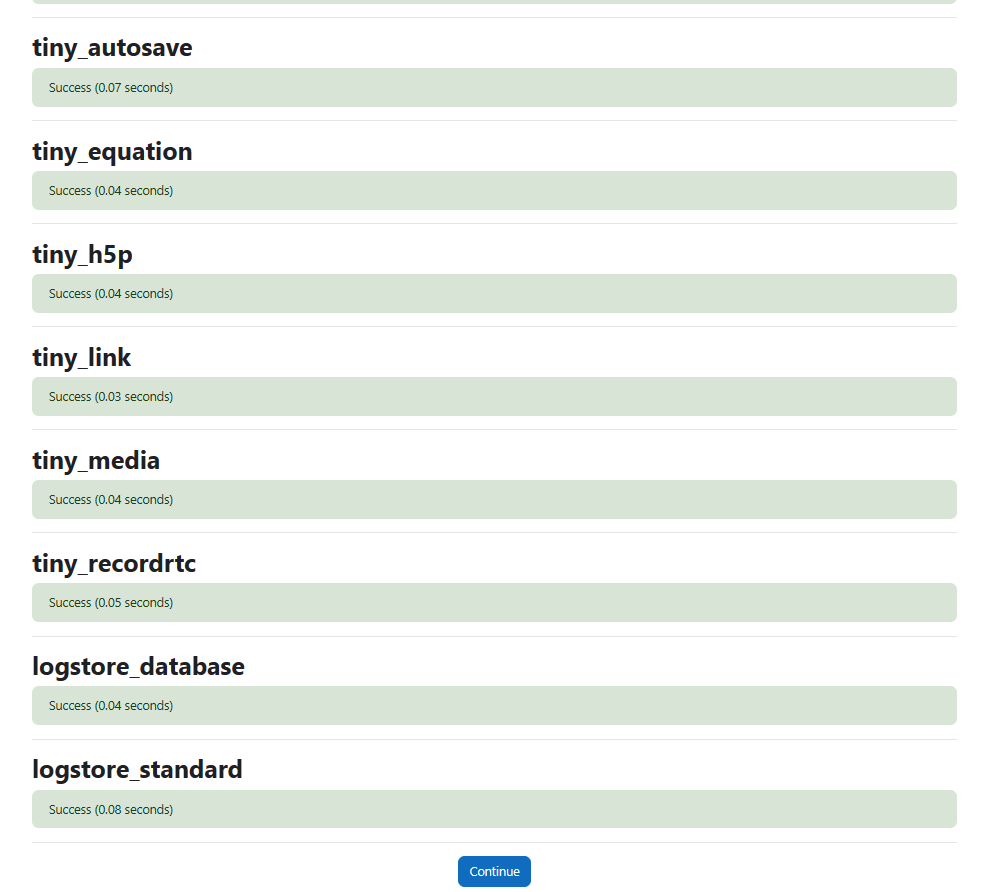
Step 7
On the next screen, the application will install the required plugins and system libraires to run the Moodle software.
No action is required on this screen.
Please c;ick on the button "Continue".
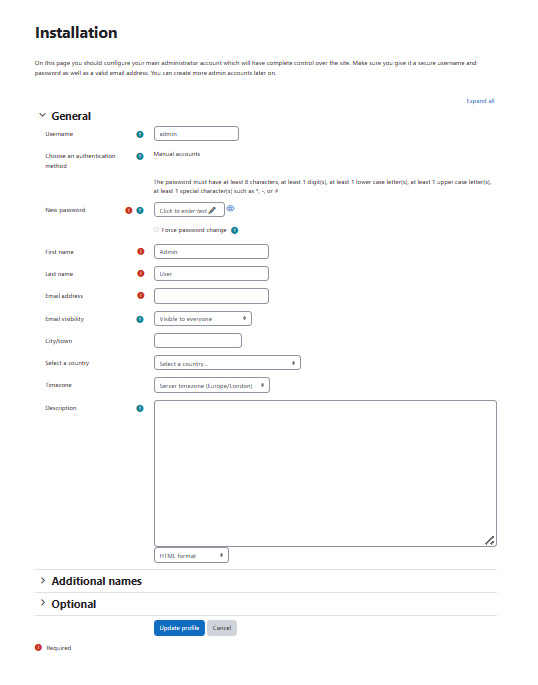
Step 8
On the next screen, please create Moodle administrative account.
Please note that this account user has all the administrative control of creating other users or configuring the Moodle application.
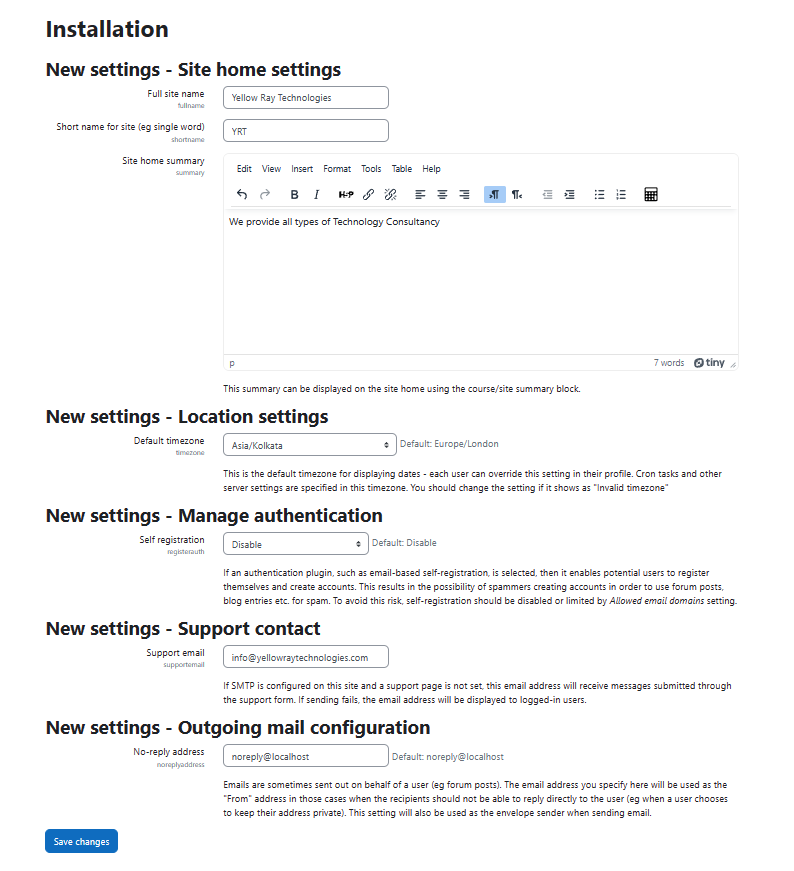
Step 9
On the next screen, please enter the details of your moodle site such as name of Educational insitution & Mail id.
Step 10
You may please visit the Moodle homepage for more information about this application by visiting the link or click on the screen at the left of this box.

